Video is key to getting to the next level. If you haven't started filming yet, you'll want to make sure you get on that right away.
Technology has changed the recruiting process and you no longer can guarantee a coach or recruiter will be able to travel to see you play, which is why sharing highlights and game video are crucial in your recruiting process.
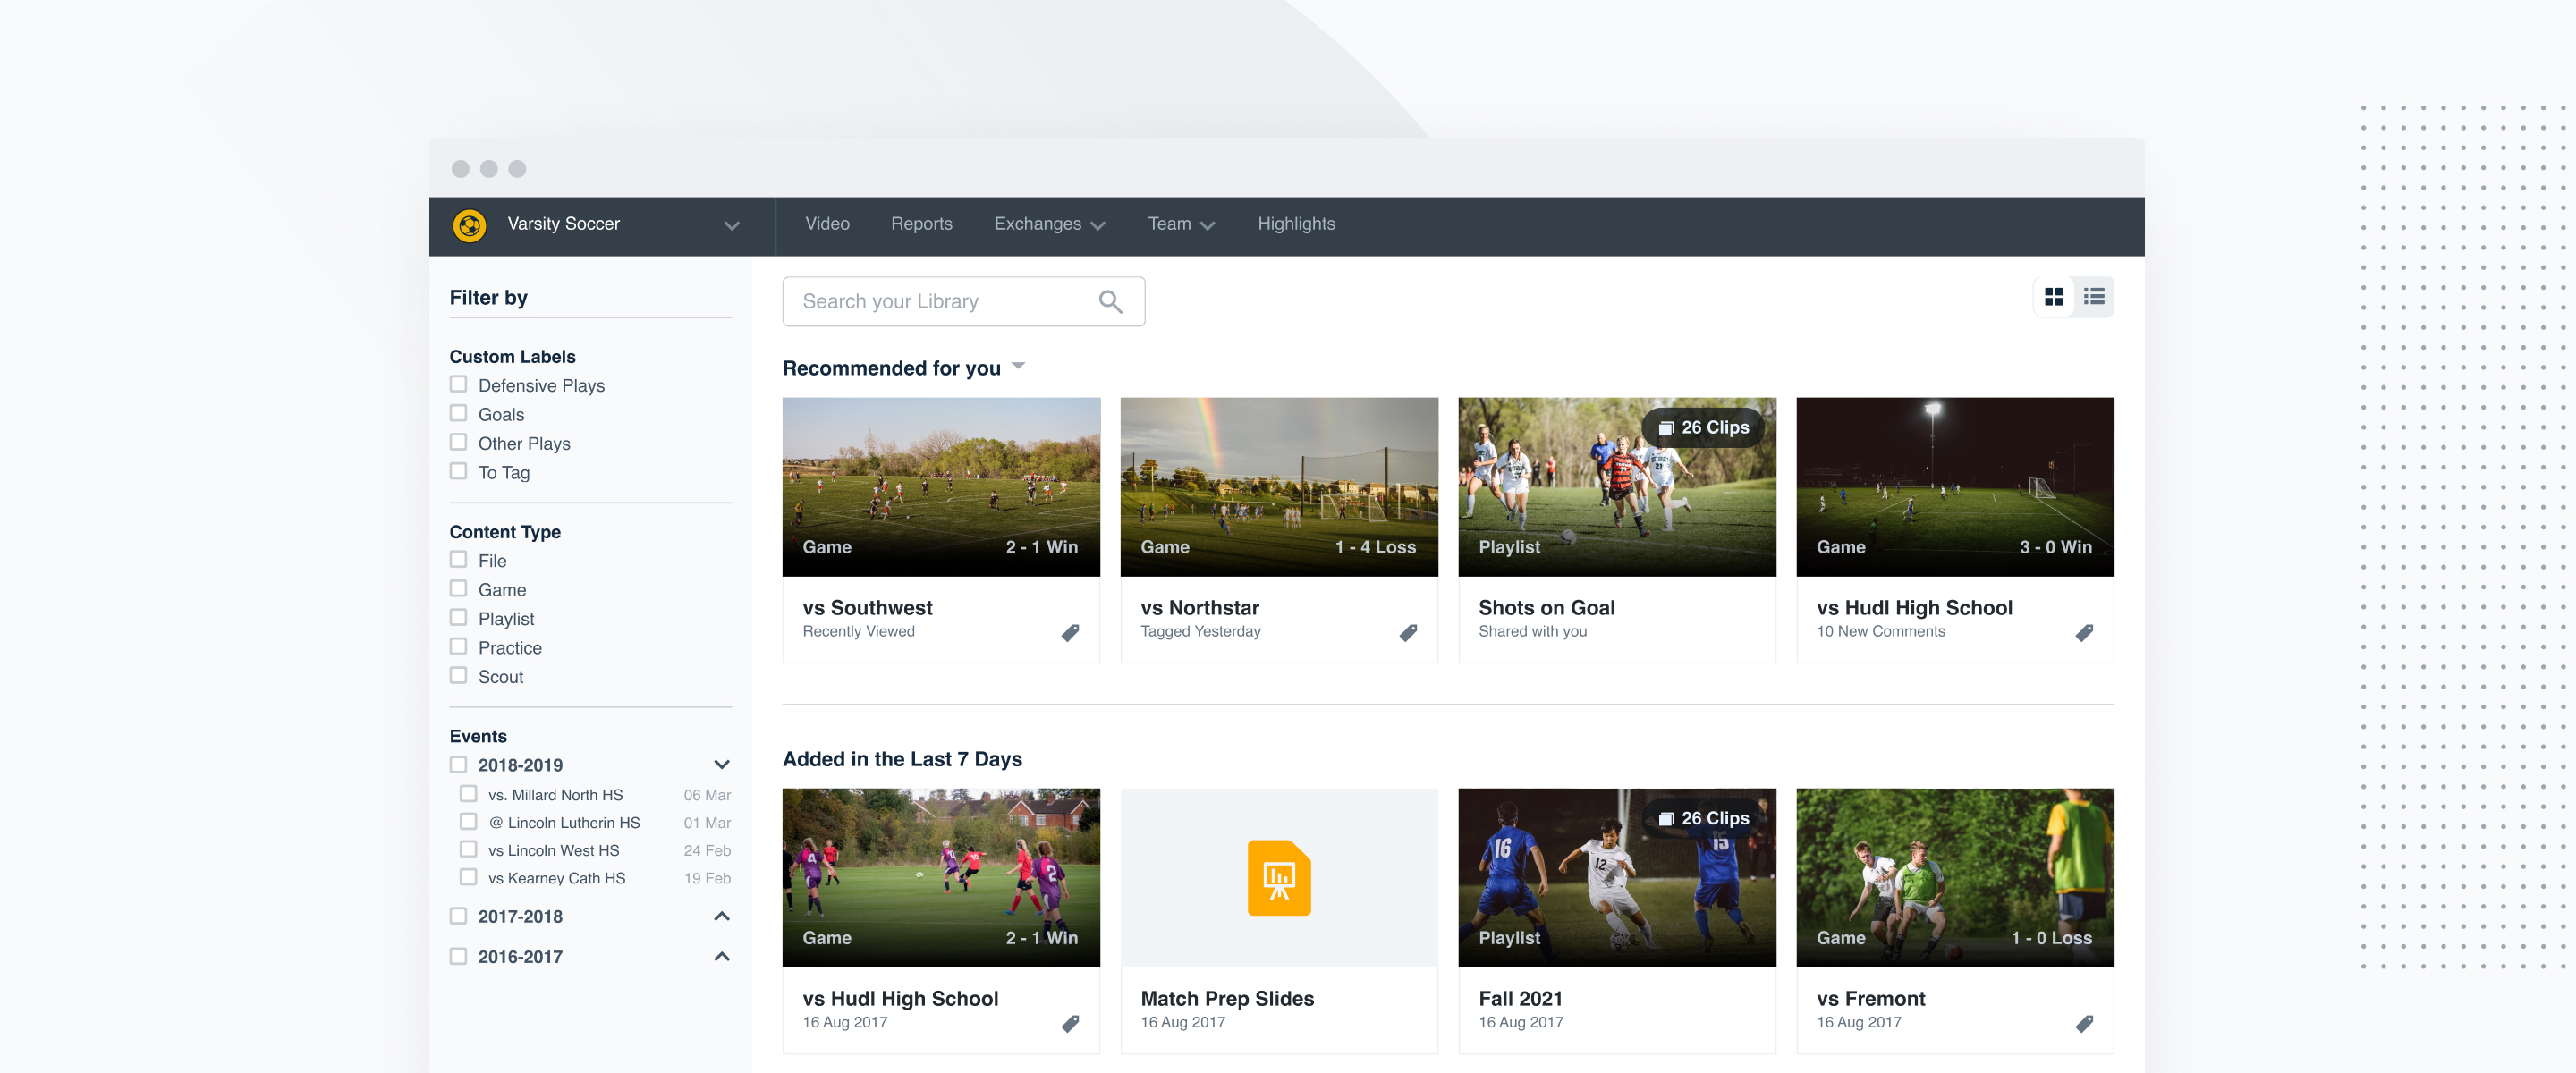
Part of your weekly training schedule should include creating playlists and compiling highlights from individual games or to showcase your skills from the whole season. We encourage you to keep note of any games that you performed at your best so you easily know which full games you want to send to recruiters in the future.
“So what should I be filming?” Good question. You can never have too much video. The more games, skill sessions, showcases, combines and camps you record, the more relevant content you’ll have to share as a prospective recruit.
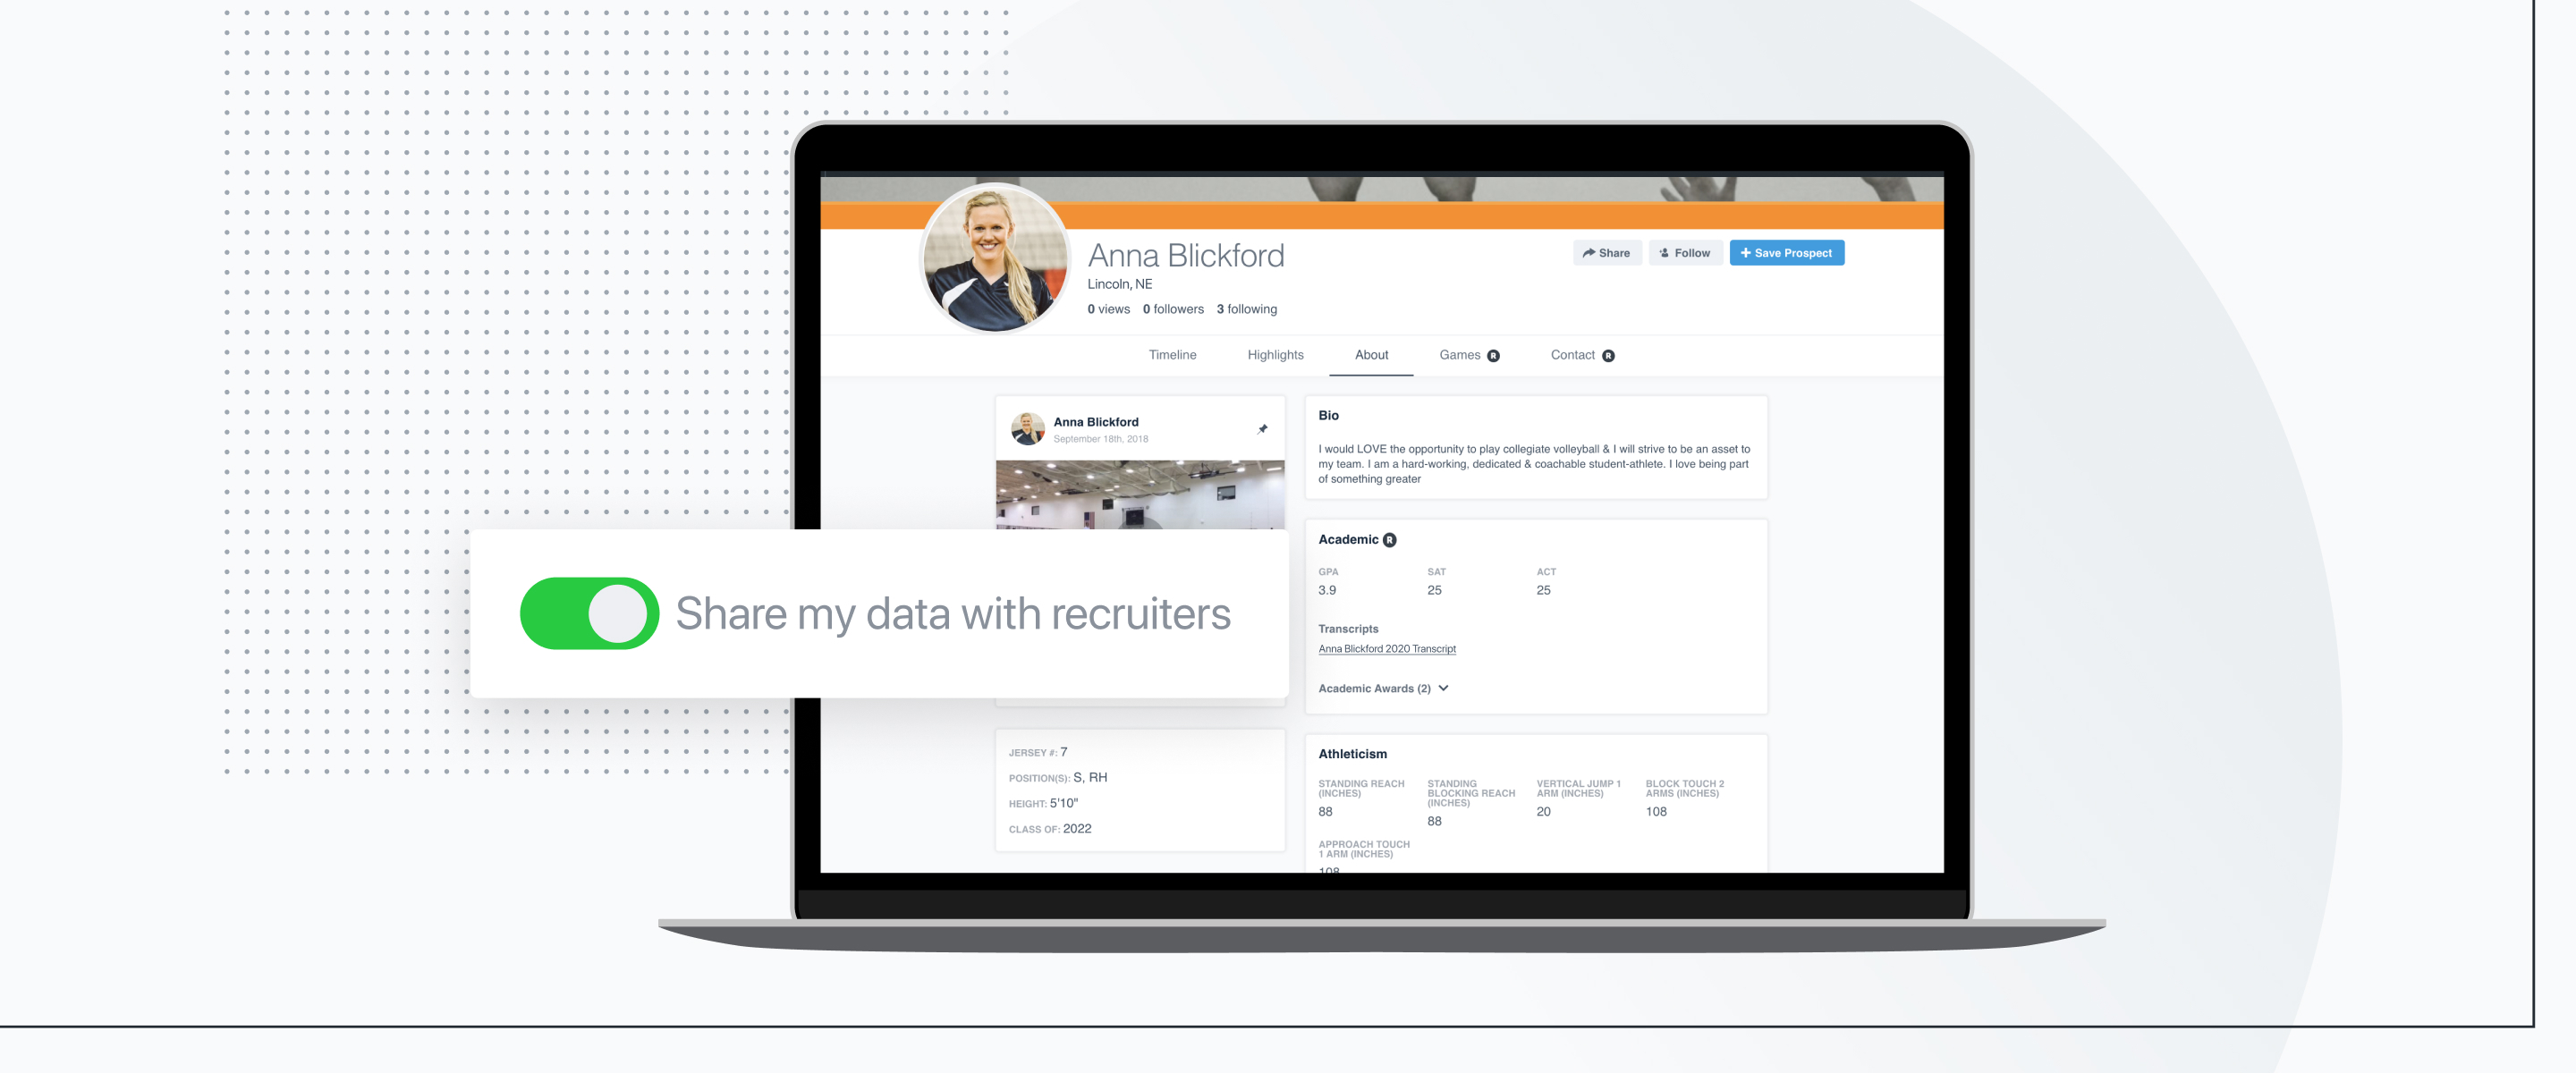
College and pro teams use Recruit to find and evaluate talented student athletes like you. Recruiters can always find your public profile (and see your highlights and athletic stats), but when you opt in to recruiting, they’ll have access to more of the content that helps them evaluate you as a recruitable student athlete. This includes contact and academic information, plus highlights and full game videos.

Do: Include your personal information on the first slide including your name, position, jersey number, graduation year and contact info.
Don’t: List athletic and academic achievements or stats to begin, recruiters need to see you in action on video.
Do: Showcase a wide variety of skills relevant to your sport or position.
Don’t: Limit your highlight to only show points scored or big plays.
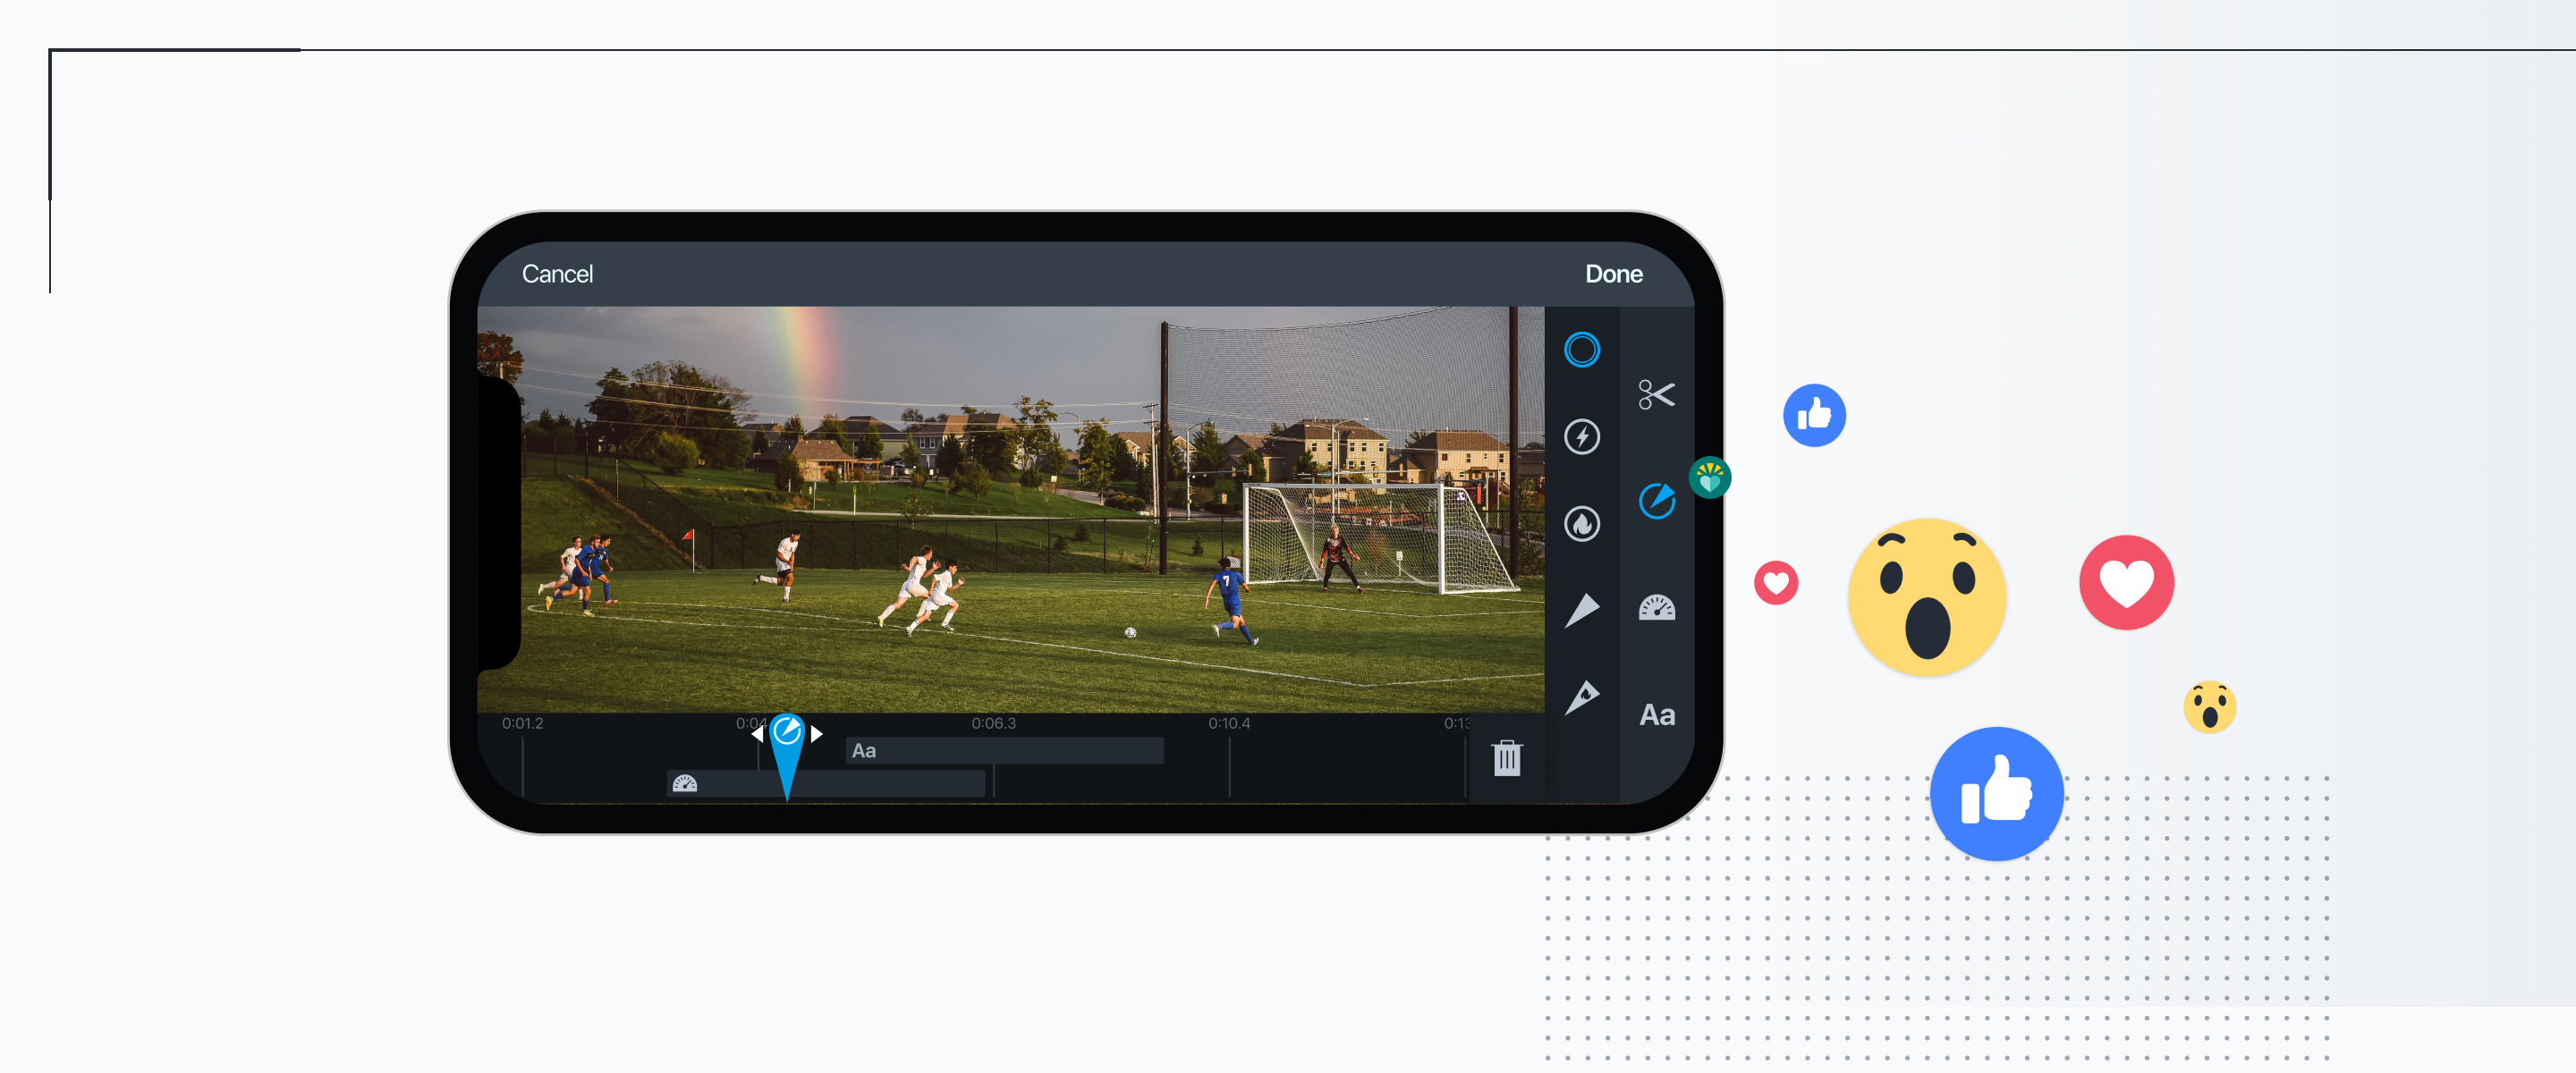
Do: Use spot shadows and arrows to make it easy for the coach to identify you.
Don’t: Let these animations take away from the point of the highlight—if your effects are distracting from the skills you're likely to lose interest quickly.
Do: Update your highlights as the year goes on and remember to reorder your best clips to the front. There's no guarantee a coach will watch your full highlight reel—grab their attention right away in the first 30 seconds.
Don’t: Make a highlight reel with 100+ clips. Keep it short and simple—we recommend no longer than 3-5 minutes at most.

Start by tagging your highlights to pull out the most important moments from your games—follow these steps if you’re a football player (on Hudl Classic), and these steps for all other sports. Next, create a premium highlight that showcases your versatility. Our tools in the highlight creator to make it easy to find you in the video.
- Title Slide
Everything the coach needs to know about you including your name, position, jersey number, graduation year and contact info. - Top 10 Plays
The best clips from your entire season to grab the coaches attention and get them excited to continue watching your highlight video. Remember to show versatility, this should still showcase multiple skills or positions. (30-45 seconds) - Skills Sections
Identify your top 3-4 individual strengths and weaknesses as a student athlete then put them in video order with your strongest area first. (30-45 seconds per skill section) - Closing Slide
Give the coach all the information about who you are including your name, position, graduation year, school or club team name and current coach contact name and email.
Creating highlight reels is important, but getting your reels into the right hands is even more crucial. Start by opting in to recruiting to ensure recruiters can access your student athlete profile which includes highlight reels and full game videos. When you’re ready to share a completed highlight reel follow these steps to share your reel to social media or copy the URL to email to a recruiter.
- Opt in to recruiting on Hudl and update your profile
- Create a highlight reel
- Update your recruiting Google or Word document with a list of games and the date played from Hudl that you performed at your best